Jeti Transmitters and the Difference

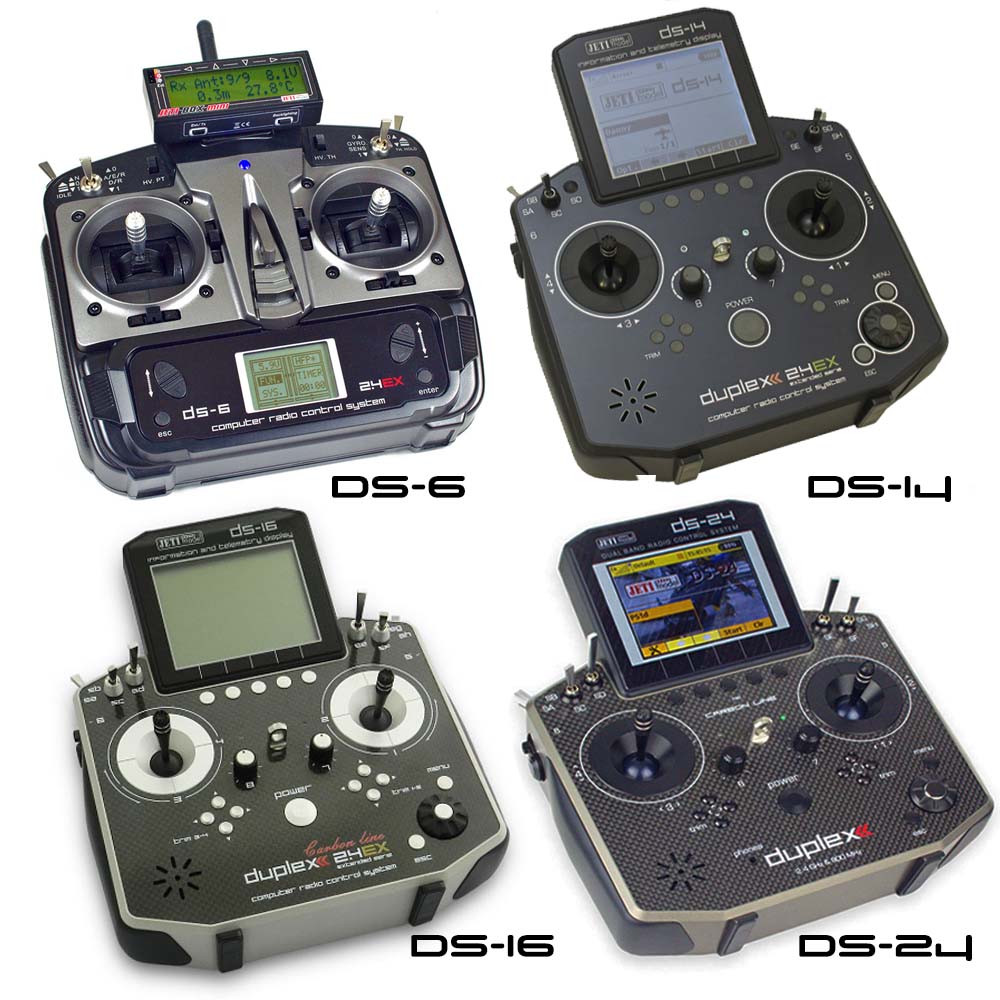
6, 14, 16, 24…Hut?!? All of these numbers are starting to sound like it’s a Sunday night on the football field. So the question is, what are all the differences between the Jeti Transmitter series. Read more as I break down some of the basic differences.

DS-24/DC-24

The Jeti DS/DC-24 Transmitters offer triple redundant signal technology by running two 2.4GHz and one 900MHz RF decks. These transmitters are the flagship of the Jeti Line.

Continue reading “Jeti Transmitters and the Difference”

Lets Learn: Opale (Wing Style)

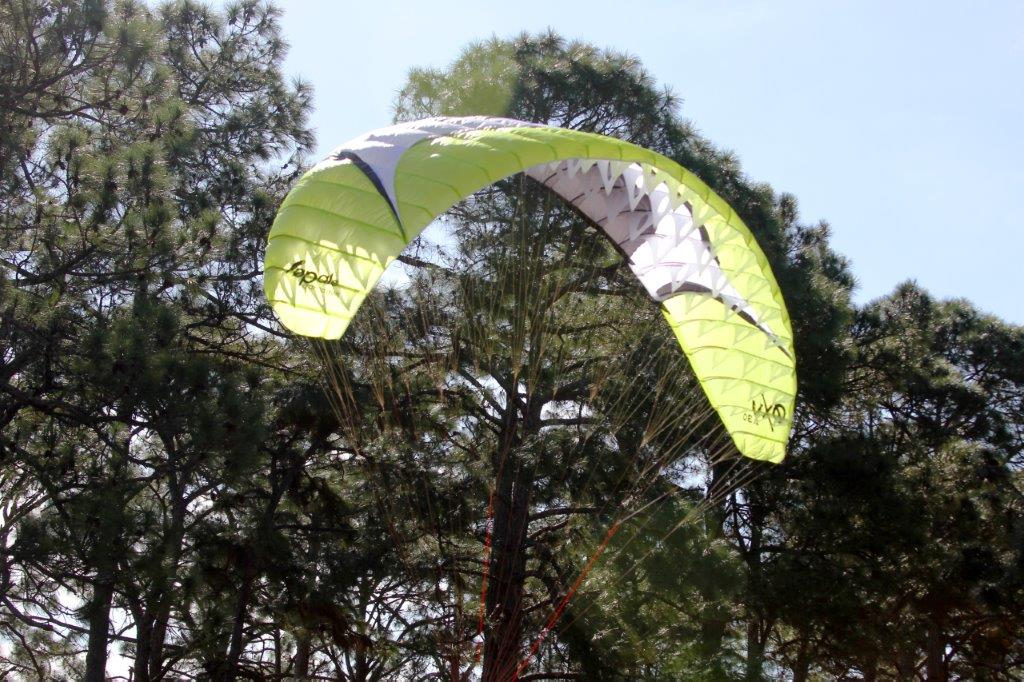
Opale Paramodels are amazing, beautiful, and fun to fly, once you figure out which set-up is right for you. Many of our Opale customers purchase multiple wings and setups, but for someone new to the world of Opale, it can be overwhelming. Read on to find out the basic differences between the Oxy, Power, Fox RS and the Hybrid series of wings.

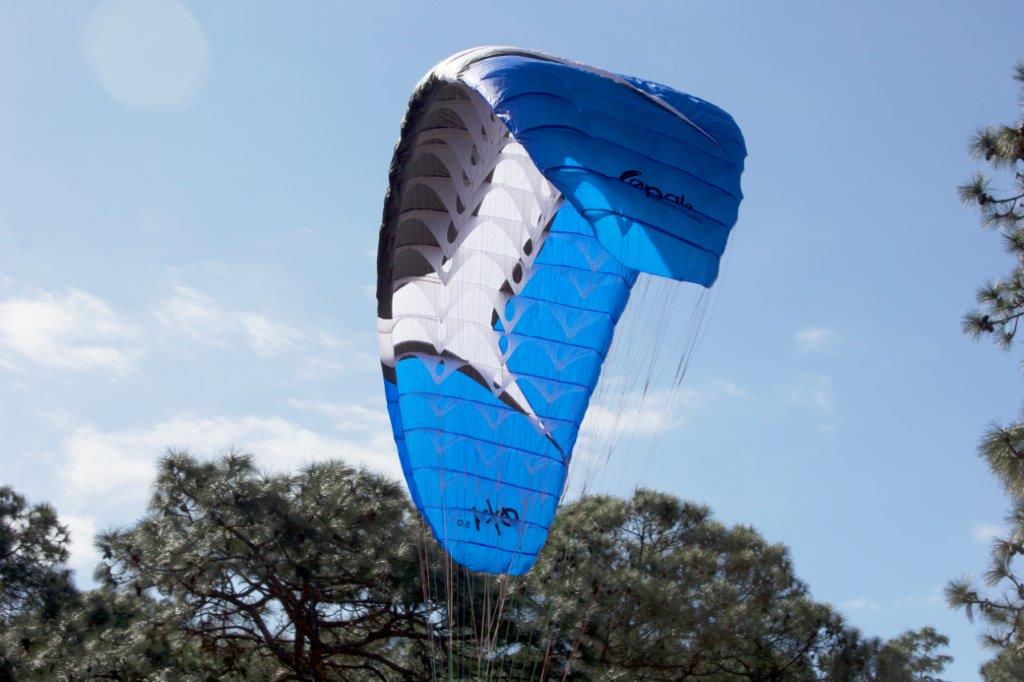
Lets start with the Oxy. The Oxy series of wings offer a single skin construction. This design allows for stability, ease of inflation, and long flight times. As a result of its stability and flight time, the Oxy wing is great for the aerial photographer or FPV pilot.

Like the Oxy series, the Power 1.1 utilizes the same single skin technology, however its smaller design allows for much higher wing loading. This wing is great for the aerobatic pilot.

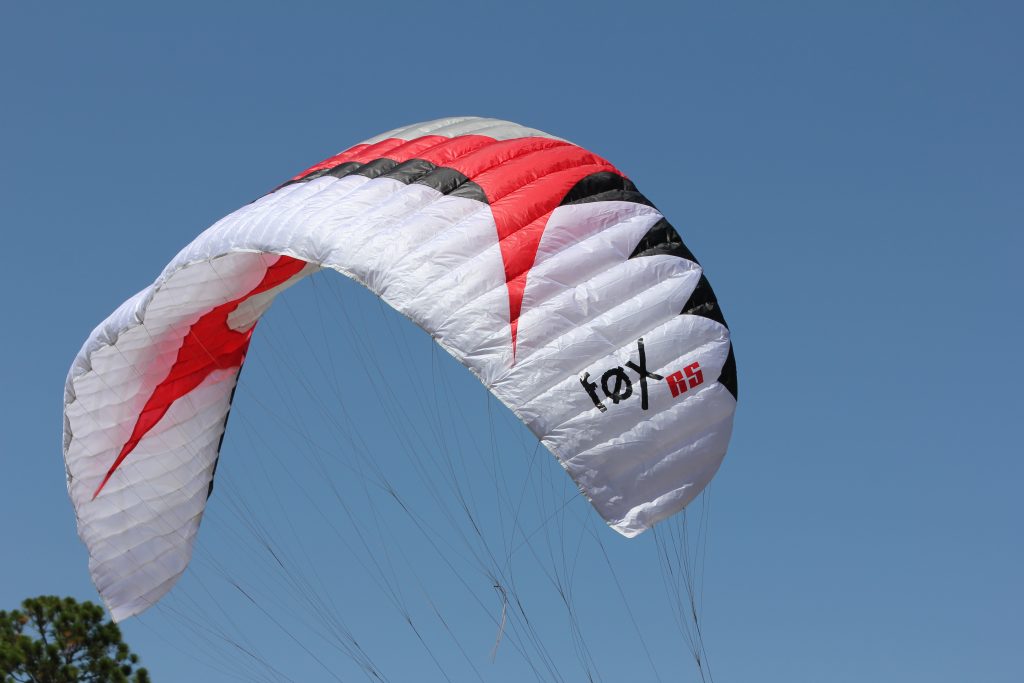
The Fox RS a high performance wing targeted towards intermediate and advanced pilots. The double skin technology provides an experience much like that of scale Paramodels with very high performance. the high-aspect ratio offers high penetration and a high flying speed resulting in a wing that is easy to fly in strong turbulence and high wind conditions.

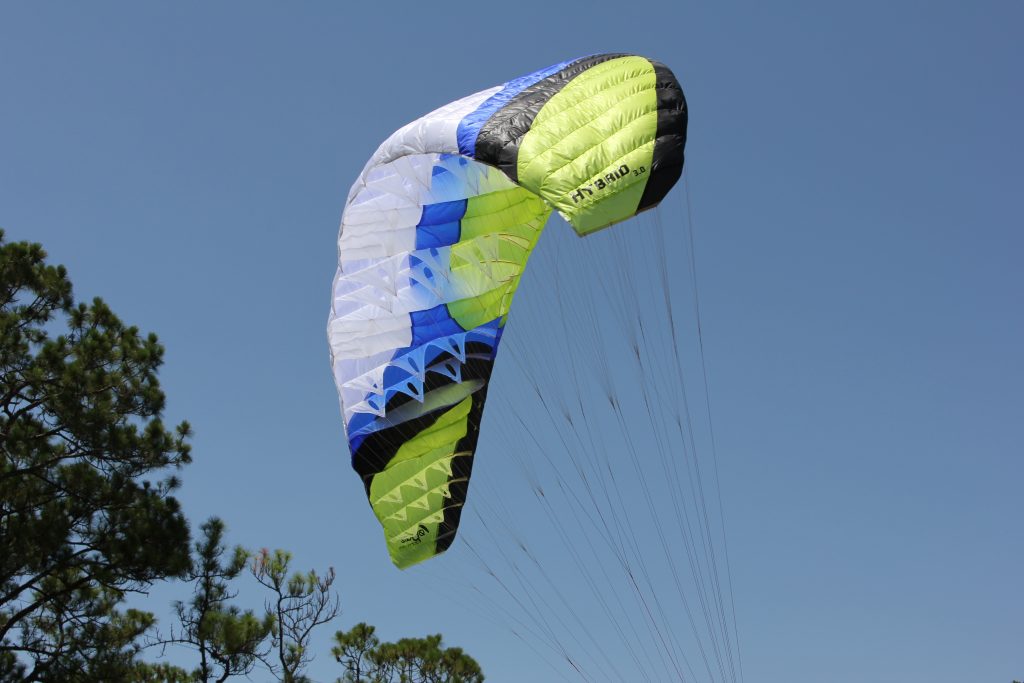
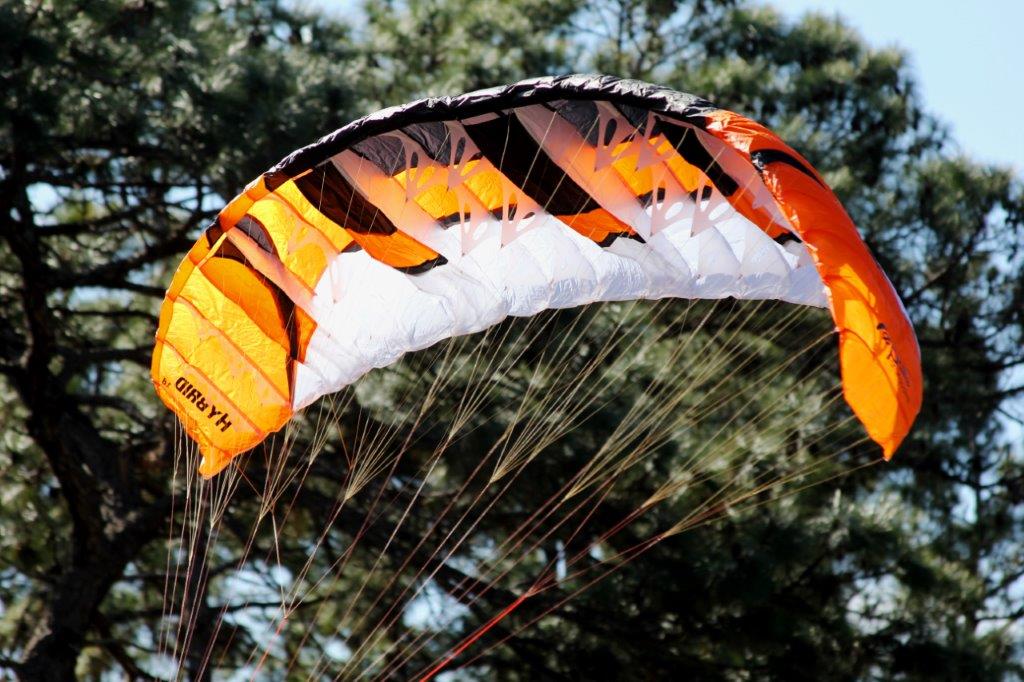
Oplae’s Hybrid wing provides a gorgeous mix of single skin and double skin technology. This feature allows for a stable flight, while being easier to launch. On the Hybrid wing, the aspect ratio is increased, allowing for more speed. This paramodel must be actively controlled by the pilot, but still does not require years of experience to enjoy.

Check out the link below to get your Opale Paramodel now!

(Full Story)

Too Good To Be True?

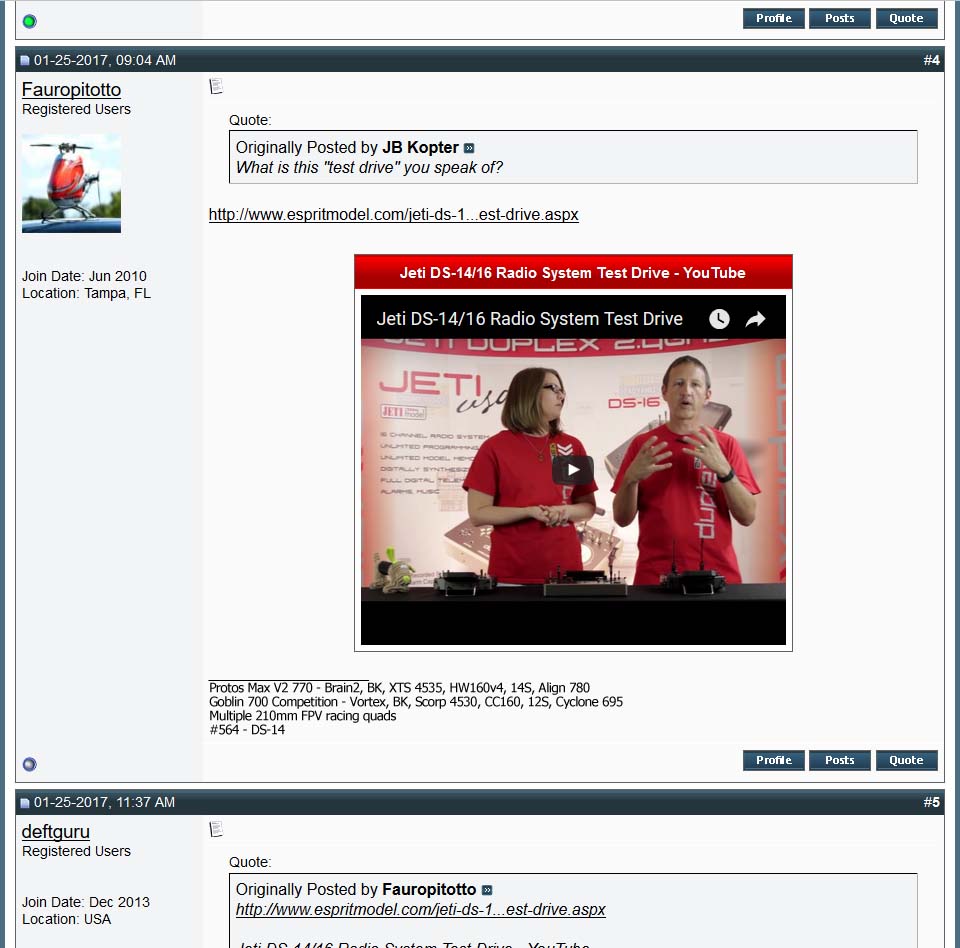
With most programs, there always seems to be some fine print included that quickly turns an amazing idea to a dreadful nightmare. We get it. As my parents said, what usually sounds too good to be true, usually is. So when this thread on Heli Freak was shared our way, we were excited to see people talking about the Jeti Test Drive Program.

Check out the Heli Freak forum and head to the Jeti Test Drive thread. Here you can chat with people that have or are utilizing the program. We are happy to stand behind  The Jeti Test Drive Program, and we know you wont be disappointment, but don’t just take our word. Click the picture below to head to the forum!

(Full Story)

Tips From Our Techs: Battery C-Rating

With all the high-tech devices out there, we sometimes tend to over look the basics of the hobby. One common question we get is about the “C-Rating” on batteries and how to determine what you need.

C-rating is the number used to express the discharge and charge capability of a battery. Knowing how to calculate this becomes important when you are looking to outfit your model with the correct battery and space is a limiting factor.

To get the C-Rating appropriate for your aircraft use the following formula:

C-Rating needed = [Current Draw]/[Capacity (A)]

This will yield you the MINIMUM C-Rating that will work safely in your system. It is always a good idea to allow yourself a bit of overhead on your battery choice.

Lets break it down in the following examples.

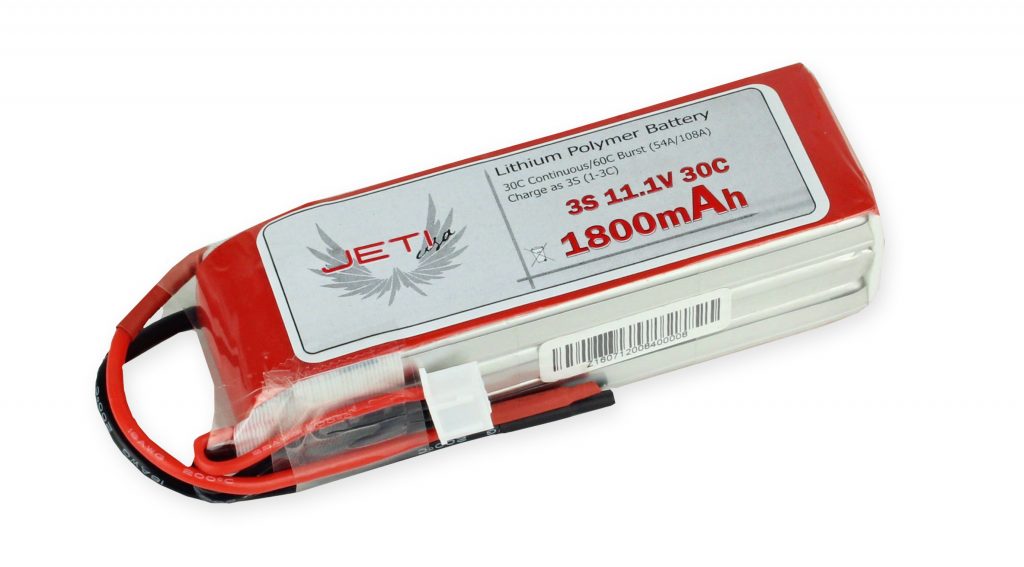
Here is what you know: Your system will pull 90 amps, but you can only fit an 1800mAh 6S size battery pack. So your formula will look like this:

C-Rating needed = 90A/[1.8A]

C-Rating needed = 50C

*Take note that the capacity of your battery must be calculated in amps, not miliamps.

Here is another example where we are using a battery in series.

Here is what you know: You are flying a helicopter drawing 200 amps and using two 5000mAh 6S batteries.

C-Rating needed =200A/[5A]

C-Rating needed = 40C

Find your perfect battery below.

(Full Story)

WE CAN HELP!!!

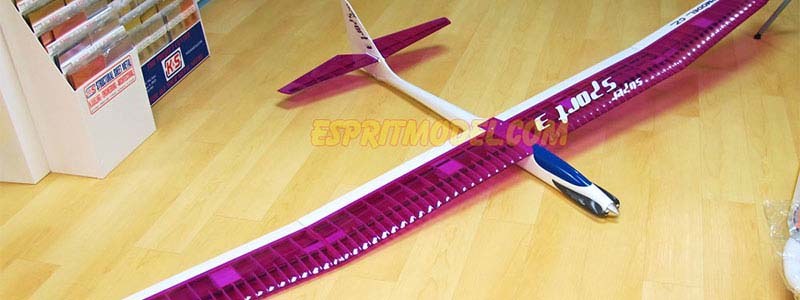
Building Season is well on its way… But for those of you who aren’t necessarily builders, or just don’t want to fuss with it, we can help! Take advantage of our Store Display aircraft – all of which have been expertly built at our shop and are ready for your receiver ready. If you don’t see one that floats your boat (or lifts your plane ) contact our building department and see what we can do for you!

(Full Story)

Jeti Firmware Upgrade 4.22 Now Available

The newest update for the Jeti DC/DS 24, DC/DS 16, and DC/DS 14 Transmitters is here.

Read on to find out what has been added and what has been changed in the update.

New Features:
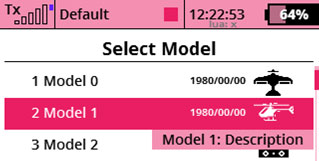
1. (DC-24 only): Model description (a “label” parameter) has been added to the Model – Basic Properties menu. The label is then shown while you browse the model list within the Model Selection menu. The label has an informative meaning and should be used to distinguish between similar models.
2. Lua is now available for DC/DS-14, DC/DS-16 and DC-24.
3. New functions and possibilities have been added to the Lua programming API.
4. Several function and new options have been added to provide seamless compatibility between DC/DS-16 and 24.
5. Any Lua telemetry screen can be assigned to the top status bar (instead of default clock). See the Timers/Sensors – Main Screen menu.

Dual Rates/Exponential Smooth Transition
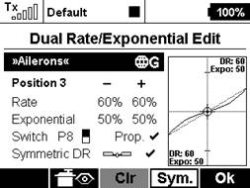
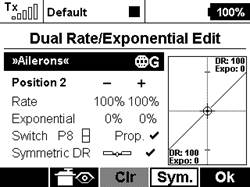
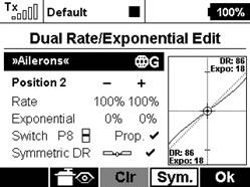
Added option for proportional and smooth Dual Rate/Exponential transition. See the Fine Tuning – Dual Rate/Exponential menu and check the “Prop.” option. If you assign any proportional control as a DR switch, you will be able to set the DR/Expo values more precisely.
Jeti DS/DC-16 Jeti DS/DC-16 Jeti DS/DC-16

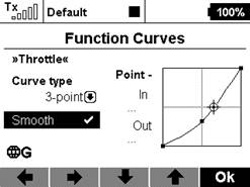
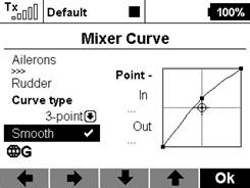
New Option for Smooth Curves
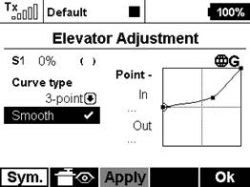
Added option for smoothed function curves (see Fine Tuning -Function Curves, Fine Tuning -Free Mixes, Fine Tuning -Butterfly).
Jeti DS/DC-16 Jeti DS/DC-16 Jeti DS/DC-16

New Digital Trim Functionality
The digital trims (Fine Tuning -Digital Trims) can now work in two additional independent modes:
3-Position Momentary Switch Emulation: The up/down positions are active only as long as you hold the corresponding trim button. Default value is otherwise 0%.

Rotary Functionality: Every time you press the trim button the value is increased or decreased according to trim step. This creates an arbitrary number of predefined positions of the trim control which is useful for example for switching flight modes of stabilization systems. Default value is -100%.

Modifications:
1. Fixed heli and airplane gyro settings (Fine Tuning – Gyro Settings and Governor menus, a problem had appeared in V4.20 and was immediately solved by version 4.20.1).
2. Fixed Throttle Limiter function behavior if an expo value is non-zero.
3. Date in the Model Selection dialogue is now displayed correctly.
4. Sensor selection dialogues now contain sensor name together with parameter name, e. g. “MUI: Current[A]”.
5. Frequency response of the vario sound has been modified to better match high performance variometers.
6. Corrected behavior of telemetry alarms if a “silent” sound profile is selected.
7. Lua: Function system.get Inputs (“P3″,”P4”) now returns correct values for both stick controls.
8. Lua: Function system.vibration() now behaves correctly and according to specification.
9. Lua: The top status bar now displays an informative text if Lua environment is not running (“lua: x”). Lua can be stopped for example in the Model Selection menu, Device Explorer menu or while you are creating new model.
10. Lua for DC/DS-16 and DC/DS-14: Optimizations in the Lua core have been applied so that it now consumes less memory.
11. Lua for DC/DS-16 and DC/DS-14: A hard-limit has been set to limit the memory consumption of the applications. If the Lua environment exceeds 50kB, all scripts are killed.

For more information on updates check out the link below.

(Full Story)

https://youtu.be/dzSCZT7Don4